Earthbagging, an effective way to turn dirt into walls. We opted for this technique in building our storage shed, a sturdy kelpto-proof construction that will survive earthquakes, floods and explosions.
Earthbagging is simple enough. You can use any type of dirt. Roadbase is best with it’s sandy-clay mixture. You take polypropylene bags (here in Thailand these are often reusable rice bags). Make sure you stick with a standard size bag.
Filling the Bags
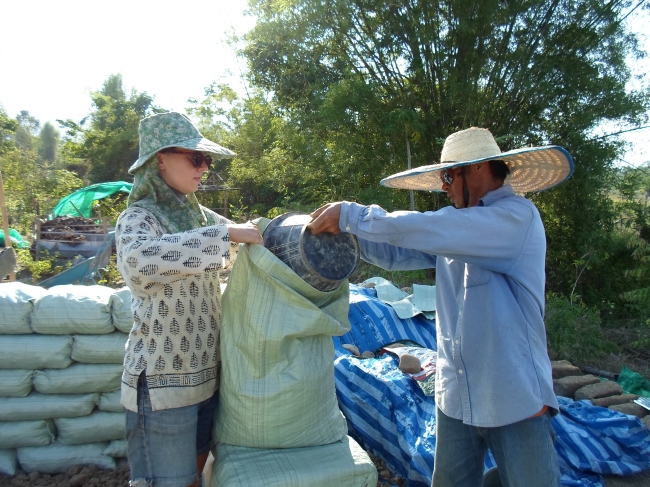
You can fill your earthbag with buckets and stick with a constant number of buckets for full and half bags to give a nice even effect on your wall. We use 7 small buckets for a full bag and 4 half buckets on a half bag. Fill the bags on the wall. This will save you the energy of lifting a heavy bag up onto an increasingly tall wall.
Laying the Bags
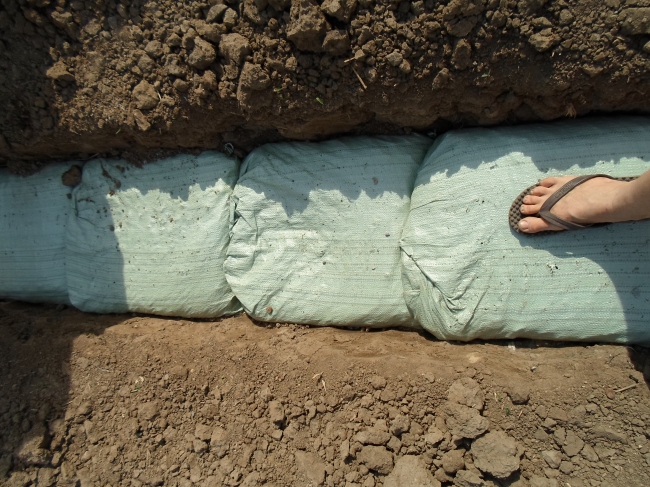
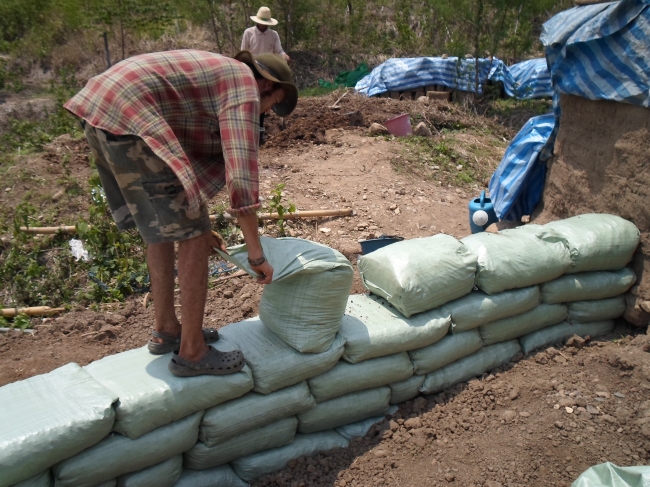
The bags are layed like bricks (except that you fill them on the wall). Make sure each row overlaps with the one below, like a brick wall. Lay each earthbag right up against the one before, so they are nice and snug, with no gaps. Make sure the layed bag is in line with the sides of the wall and not leaning over to one side.
Tamping
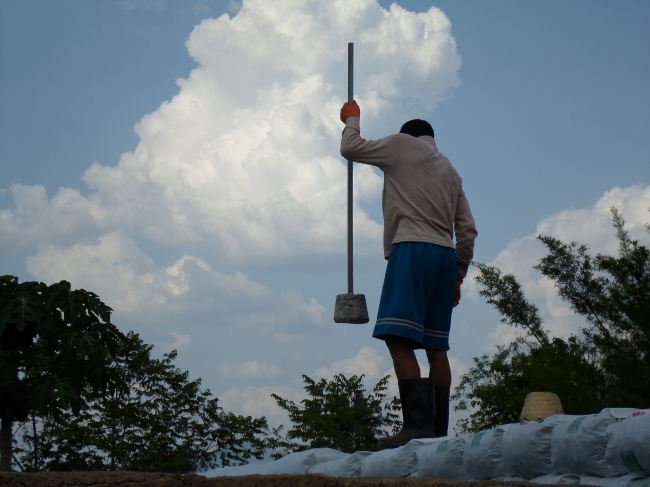
Once you have layed a row, you tamp the whole row with a tamper (solid weight with handles out of wood or cement). Tamp until the bag is about 10cm wide and you hear a slapping sound. Try to get each row tamped evenly level. This will make laying the next row much easier. You can get a good rhythm going. Music helps.
To make your own tampers, you can use wood. Alternatively, we took a black plastic pot and stuck a handle through the bottom. Fill the pot with cement. Let it dry. Remove the plastic pot, and you are left with an excellent tamper. Clear instructions in the ‘Earthbag Building’ book.
Adding Barbed Wire
If you are making a multiple story house, dome or load-bearing wall then you can run barbed wire between each row to increase the tensile strength.
Trick of the Trade: Diddling
Diddling is a simple little trick to keep the bottom corners of the bag from poking out. You stretch your thumb and forefinger inside the bag so that each reaches into the two corners of one end and pushes out a corner. This should create a triangle shape sticking out. Fold this triangle over the base of the bag. Stick a nail through it. This creates a sharp-edged rectangular base of the bag with no awkward corners poking out. This makes it easier to plaster later on.
Plaster
As a final finish you can nail chicken wire onto your earthbags to help the plaster stick onto the smooth polypropylene surface. There are many types of plasters. Popular external plasters include lime and cement. Internal ones may be earthen with various additives. We will include more information on plasters once we actually reach this stage.
Further resources:
‘Earthbag Building’ by Kaki Hunter and Donald Kiffmeyer


